Create a Simple Balance Sheet in Excel Easily

Creating a balance sheet in Excel might seem like a daunting task, but with a few straightforward steps, you can easily produce one that will help you or your business keep track of financial health. Here’s how to create a simple balance sheet using Excel:
Set Up Your Excel Sheet
Start by opening a new Excel workbook:
- Click on File > New > Blank Workbook.
Once the workbook is open, you’ll need to name your sheet:
- Right-click on the default sheet name at the bottom left corner of the window and select Rename.
- Name your sheet something relevant like “Balance Sheet”.
Header and Title Section
Next, create a header for your balance sheet:
- In cell A1, type Balance Sheet and make it stand out by applying a title format:
- Select the cell.
- Go to Home > Font and choose a larger font size, make it bold, and perhaps use a different color to make it eye-catching.
Below the title, add information like the company name, date, and fiscal period in cells A2, A3, and A4 respectively.
Asset Section
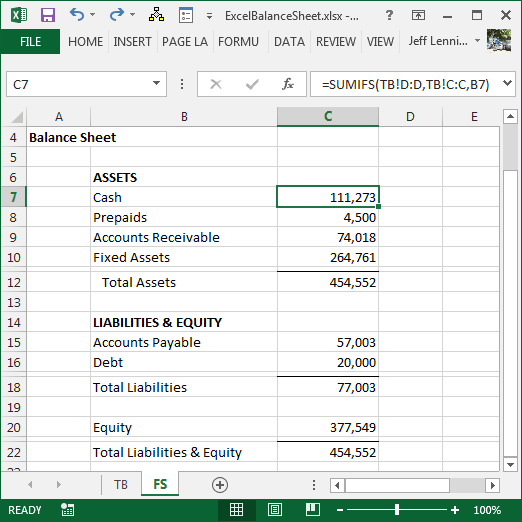
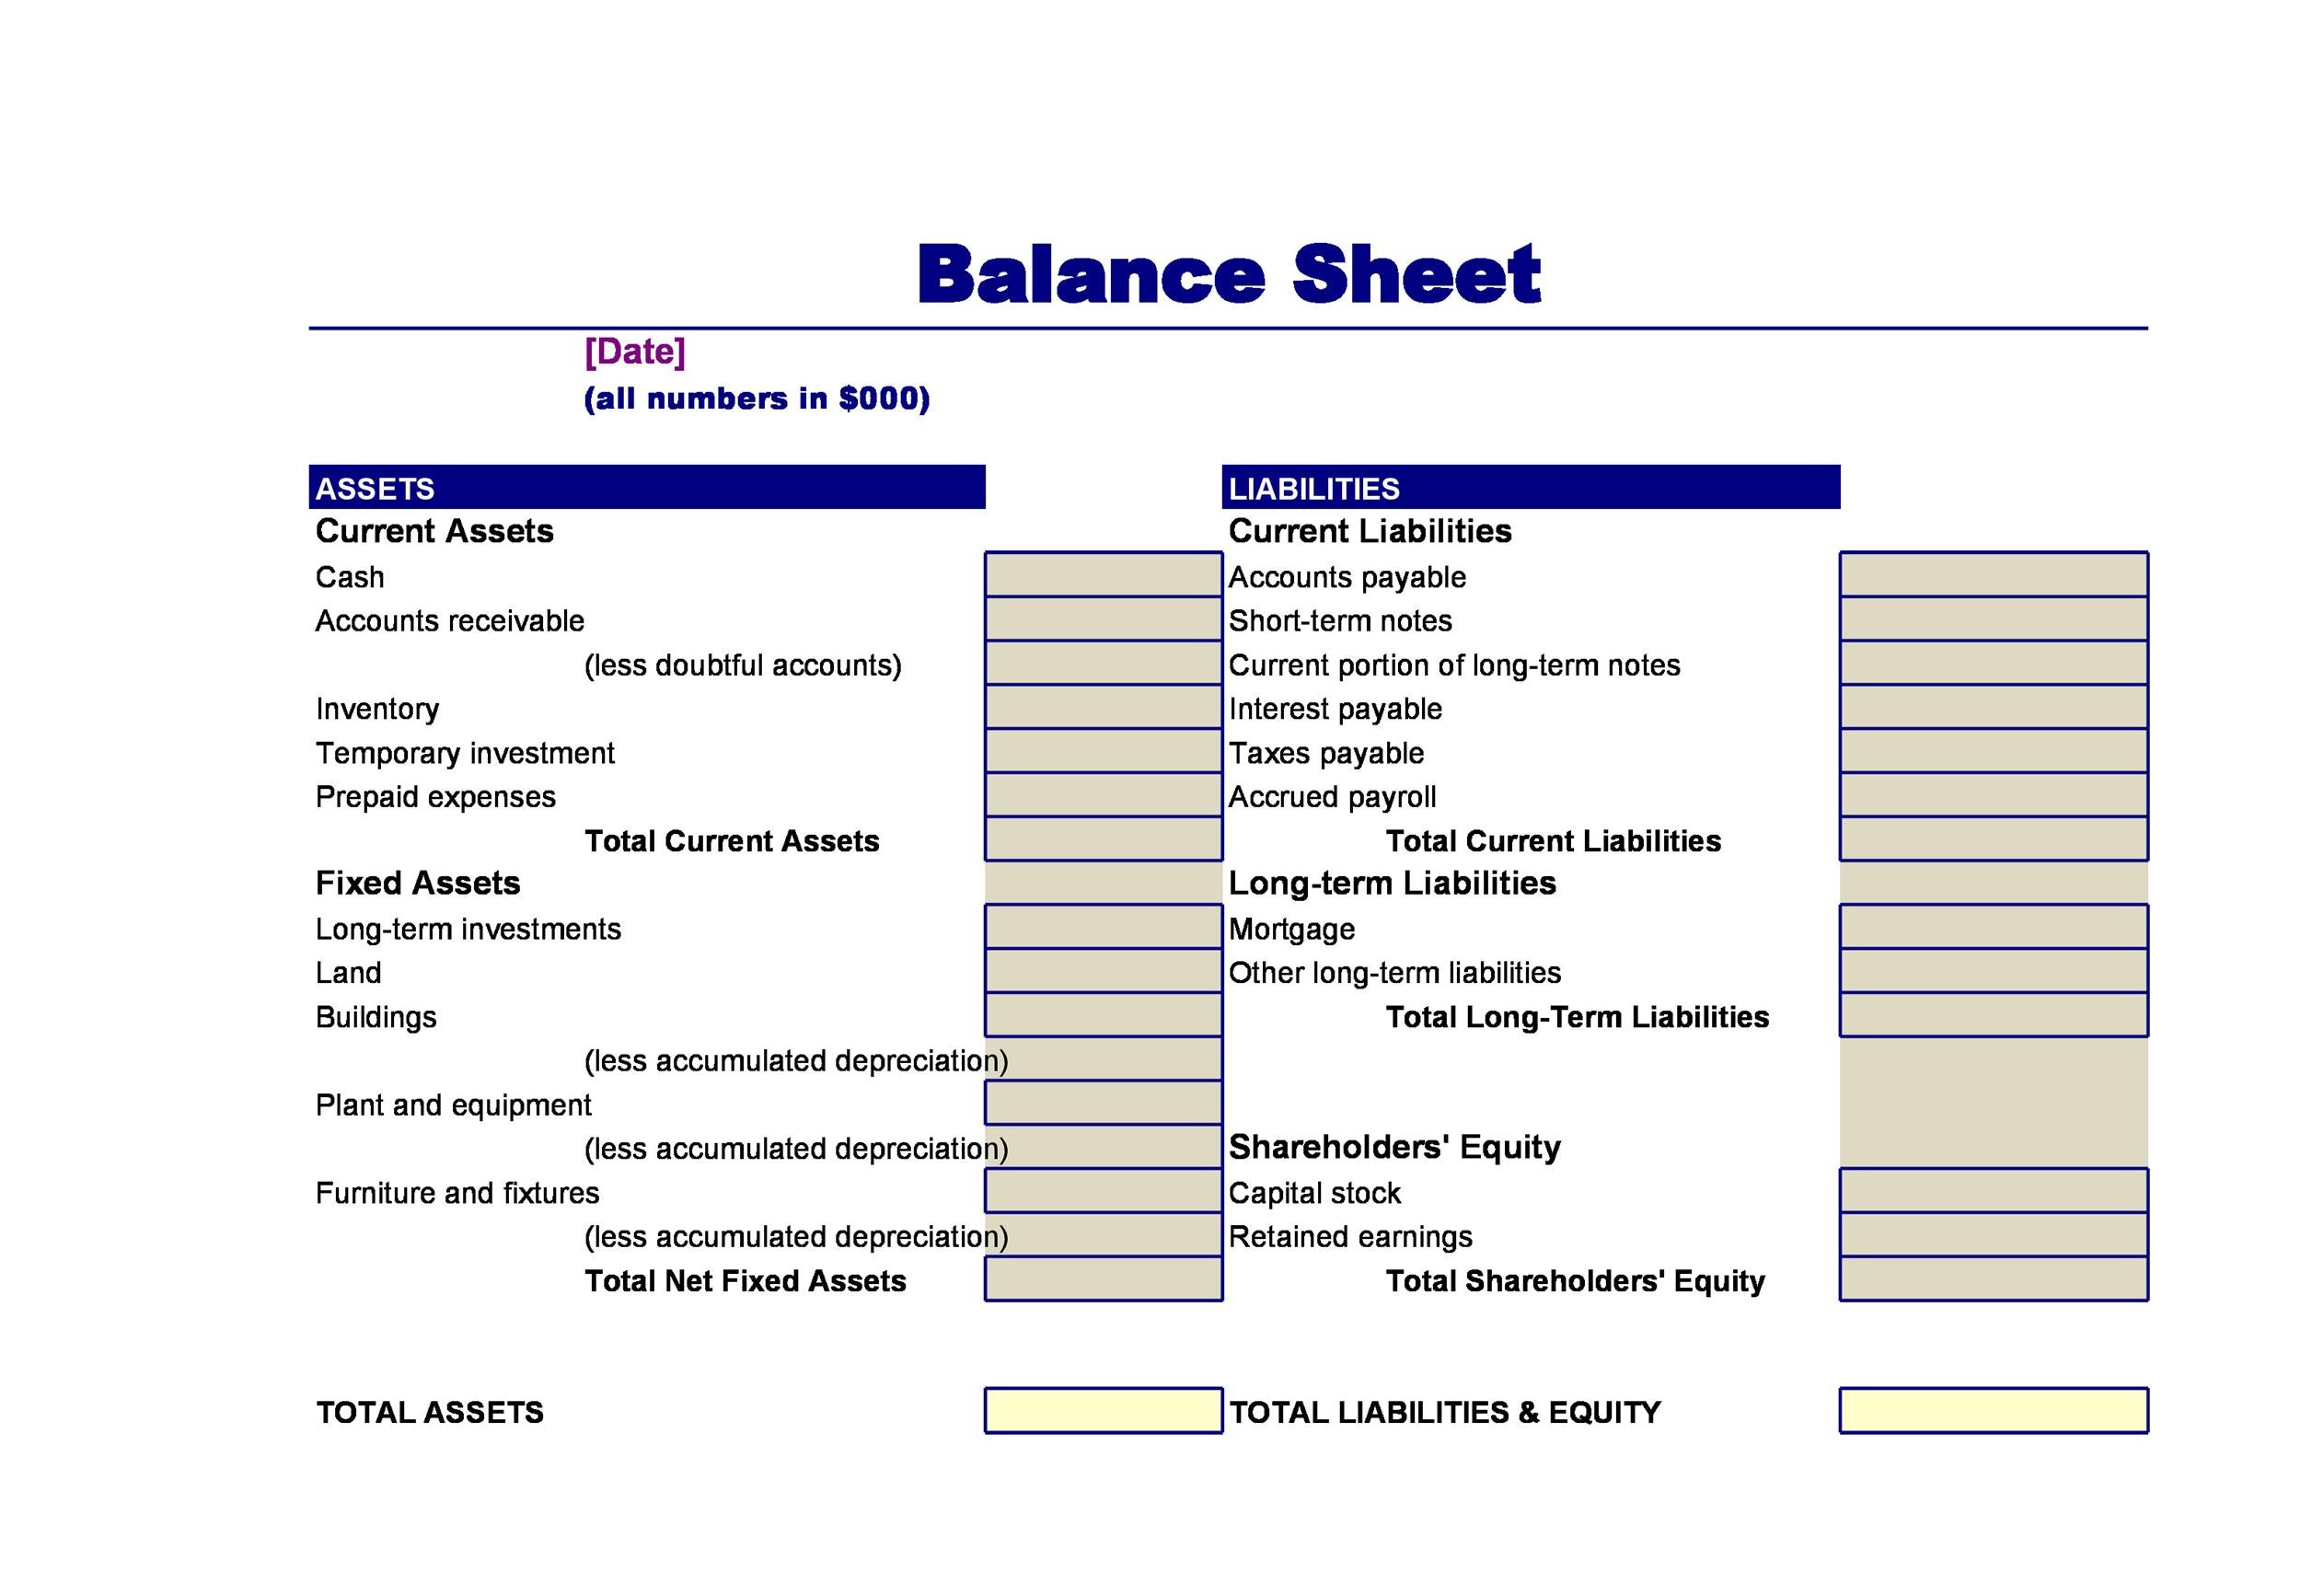
Now, let’s organize the Assets section:
- In cell A6, type Assets and format it as a heading.
Create a table to list the assets:

| Particulars | Amount |
|---|---|
| Cash | |
| Accounts Receivable | |
| Inventory | |
| Total Current Assets | =SUM(B7:B9) |
| Fixed Assets | |
| Less: Depreciation | |
| Net Fixed Assets | =B11-B12 |
| Total Assets | =SUM(B10,B13) |
💡 Note: You can customize this table to include only the assets relevant to your business or add more specific asset categories.
Liabilities and Equity Section
Below the assets, create the Liabilities and Equity section:
- In cell A15, type Liabilities and format it as a heading.
Use another table to list liabilities:
| Particulars | Amount |
|---|---|
| Accounts Payable | |
| Short-term Loans | |
| Other Current Liabilities | |
| Total Current Liabilities | =SUM(B16:B18) |
| Long-term Debt | |
| Total Liabilities | =B19+B20 |
After the Liabilities, list the Equity:
| Particulars | Amount |
|---|---|
| Owner’s Equity | |
| Retained Earnings | |
| Total Equity | =B22+B23 |
| Total Liabilities and Equity | =B21+B24 |
💡 Note: Ensure the Total Assets match Total Liabilities and Equity. This balance is the foundation of a balance sheet.
Formatting Tips
- Use borders to separate different sections like assets, liabilities, and equity.
- Apply color-coding: perhaps blue for assets, red for liabilities, and green for equity to differentiate visually.
- Make sure to format cells for currency to display amounts with proper monetary symbols.
- Align numbers to the right in cells under the “Amount” column for readability.
To wrap up, creating a balance sheet in Excel involves setting up your sheet, inputting your data, and formatting for clarity. By following these steps, you can effectively monitor your financial standing:
A well-structured balance sheet provides a snapshot of your company's financial health at any given point in time. It shows what your business owns (assets), what it owes (liabilities), and the value that remains (equity). Regularly updating this sheet not only helps in financial planning but also in making informed business decisions, ensuring that your financial resources are being managed efficiently and effectively.
Why is it important to balance total assets with total liabilities and equity?
+The balance between assets, liabilities, and equity on the balance sheet ensures that your accounting equation (Assets = Liabilities + Equity) holds true, reflecting the financial position of your business accurately.
Can Excel automatically calculate my balance sheet totals?
+Yes, using formulas like SUM() allows Excel to automatically calculate totals and subtotals for your balance sheet, making updates much easier.
What if my assets don’t equal my liabilities and equity?
+This might indicate an error in data entry or calculation. Double-check all figures and ensure all entries are accurate. If the equation still doesn’t balance, re-examine your financial transactions or consult with a financial advisor.


